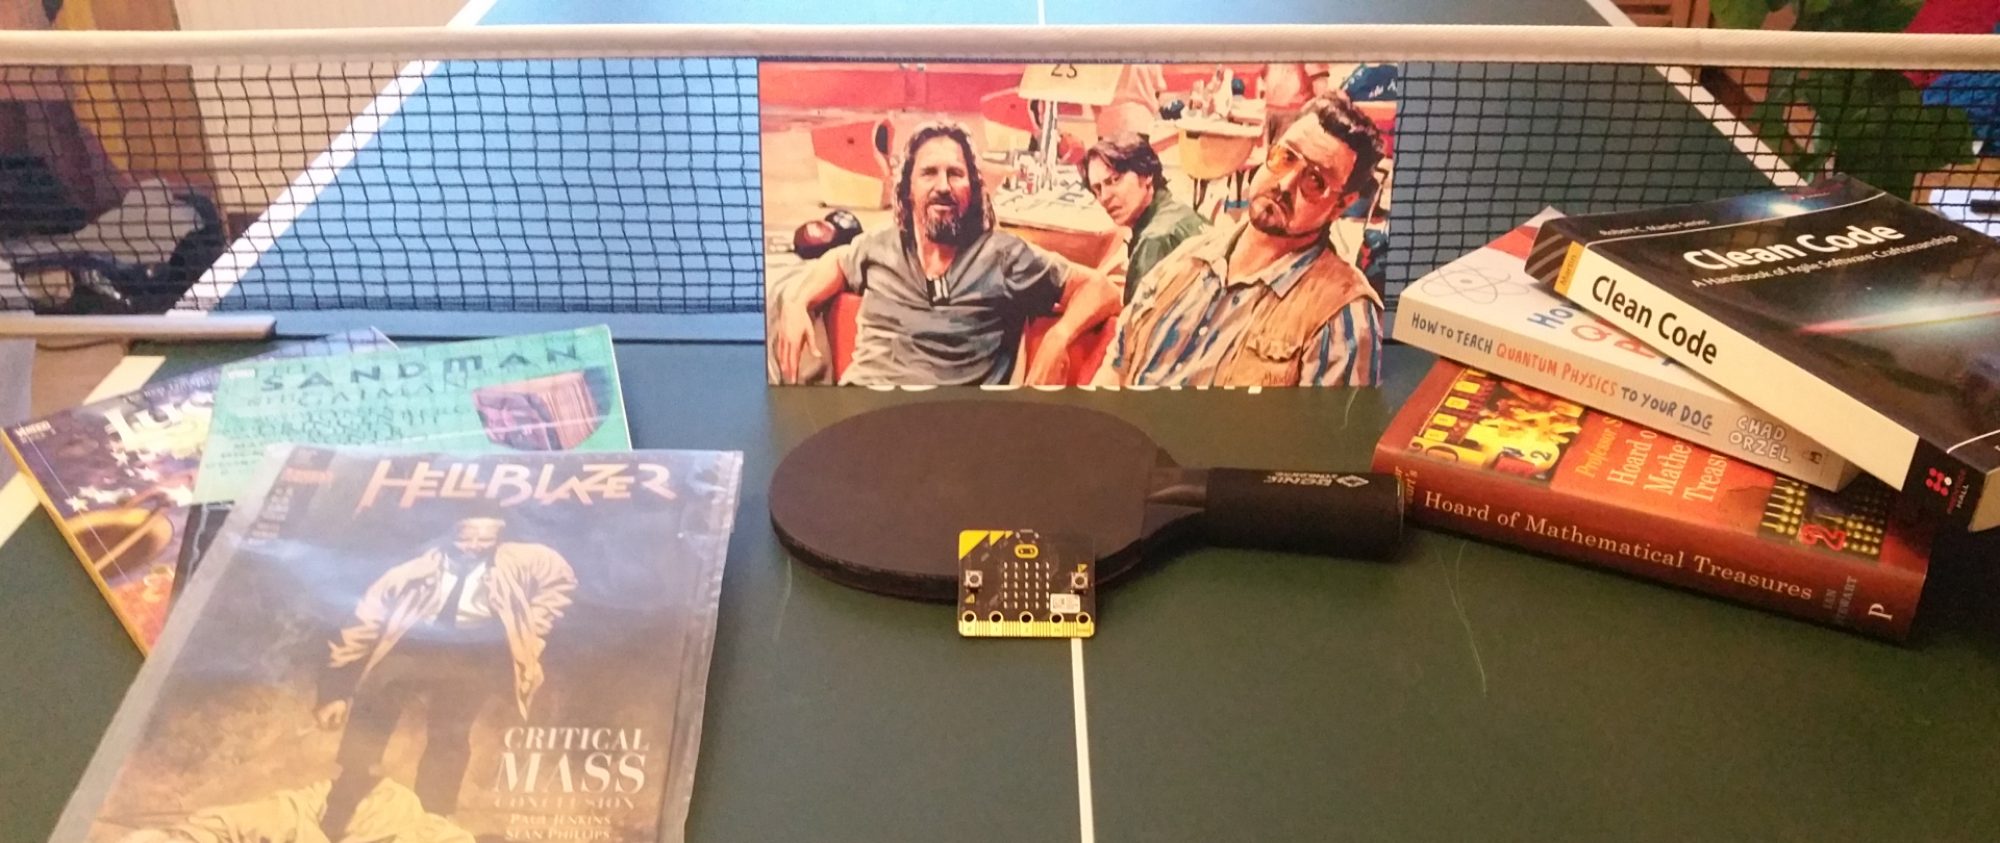
The house has a floor, ceiling, roof and 1 back wall, 2 side walls but no wall in front (the front is left open so people can see inside):
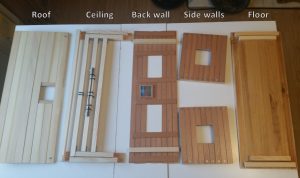
The floor:
I used a panel from an old piece of furniture that got retired ages ago. Its really nice solid oak – very sturdy and strong. I decided to use this as the ‘template’ for the whole build, so the sizes of the other components were based on this.
Notice the strips of wood affixed to each side: these are carefully sized to ensure that the side walls slot neatly into them. They need to be spaced perfectly and the right length to contain the walls.
It is also necessary to leave adequate space at the back for the back wall to fit in nicely – more on this in the next chapter.
The side walls (2):
Never throw away old louvers when you install a blind. They are really useful and very easy to work with (you can cut them with a good pair of scissors).
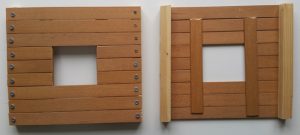
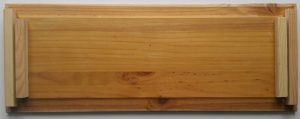
The roof, back wall and both side walls are made primarily with those and a number of the elements of the house were too.
I used 2 vertical struts for support and superglued lateral struts to these. Rem to put your windows in too! I then added the edge supports for extra strength.
The back wall:
The back wall is built using the same technique and materials as the side walls but has 4 vertical supporting struts instead of 2.
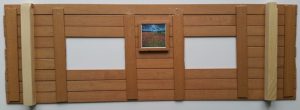
I am particularly fond of the ‘painting’ – I’d go as far as to say its the best single item in the house. Its also built with louvres! More on that later though.
The ceiling:
This is easily the most complex part of the structure and is what holds up the walls and gives the house strength. The pic below shows the bottom, with 2 key elements marked:
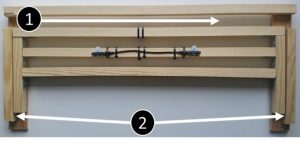
- Fitting the back wall. This gap is where the back wall fits into the ceiling
- Supporting the side walls. The small gap shown is 2 louvres wide and this is where the side walls lock into the ceiling.
Below is a top view of the ceiling:
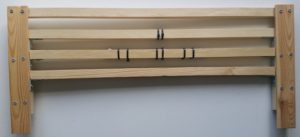
It is also not made with recycled parts – I had to buy the wood for it.
The roof:
Another use of louvres! Below is a top view:
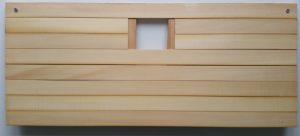
Note the space for the solar panel.
The bottom view below shows a key structural component:
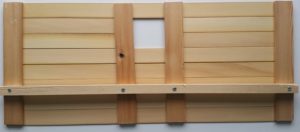
The lateral piece of wood not only adds strength, it also helps to hold the roof in place, as you will see in the next chapter.
Next: The micro:bit house (4) – construction
The micro:bit house blog has 10 separate chapters:
- The micro:bit house
- The micro:bit house (2) – design
- The micro:bit house (3) – structure
- The micro:bit house (4) – construction
- The micro:bit house (5) – interior
- The micro:bit house (6) – furniture
- The micro:bit house (7) – electronics
- The micro:bit house (8) – controllers
- The micro:bit house (9) – code
- The micro:bit house (10) – wrap-up
