
One of the big challenges I had with the matrix was creating a system that could be used to generate images / animations to use on it. I wanted people to be able to make an image / animation very quickly and to be able to easily fling it onto the matrix.
I toyed with several ideas, including using punch-cards or building a 5×5 matrix of light sensitive LEDS with little trap-doors you can close to indicate an off pixel. But at some point I had stumbled across this excellent article by Yigal Edery, which showed me that Excel and micro:bit could easily talk to each other over USB. I could use Excel as the tool to create images / animations.
And I love Excel! Am quite proficient with it too. This was a chance to finally bring together 2 things that I loved (Excel and micro:bit) and had poured countless hours of my free time into in the name of fun. What to call it though? micro:cel; bit:cel, cel:bit, bit:ex… so much to choose from, but I settled on:

I released ex:bit as a stand-alone app, although I never intended it to be that. What prompted me was just how much fun it was to create an image easily in Excel then fling it onto the micro:bit screen.
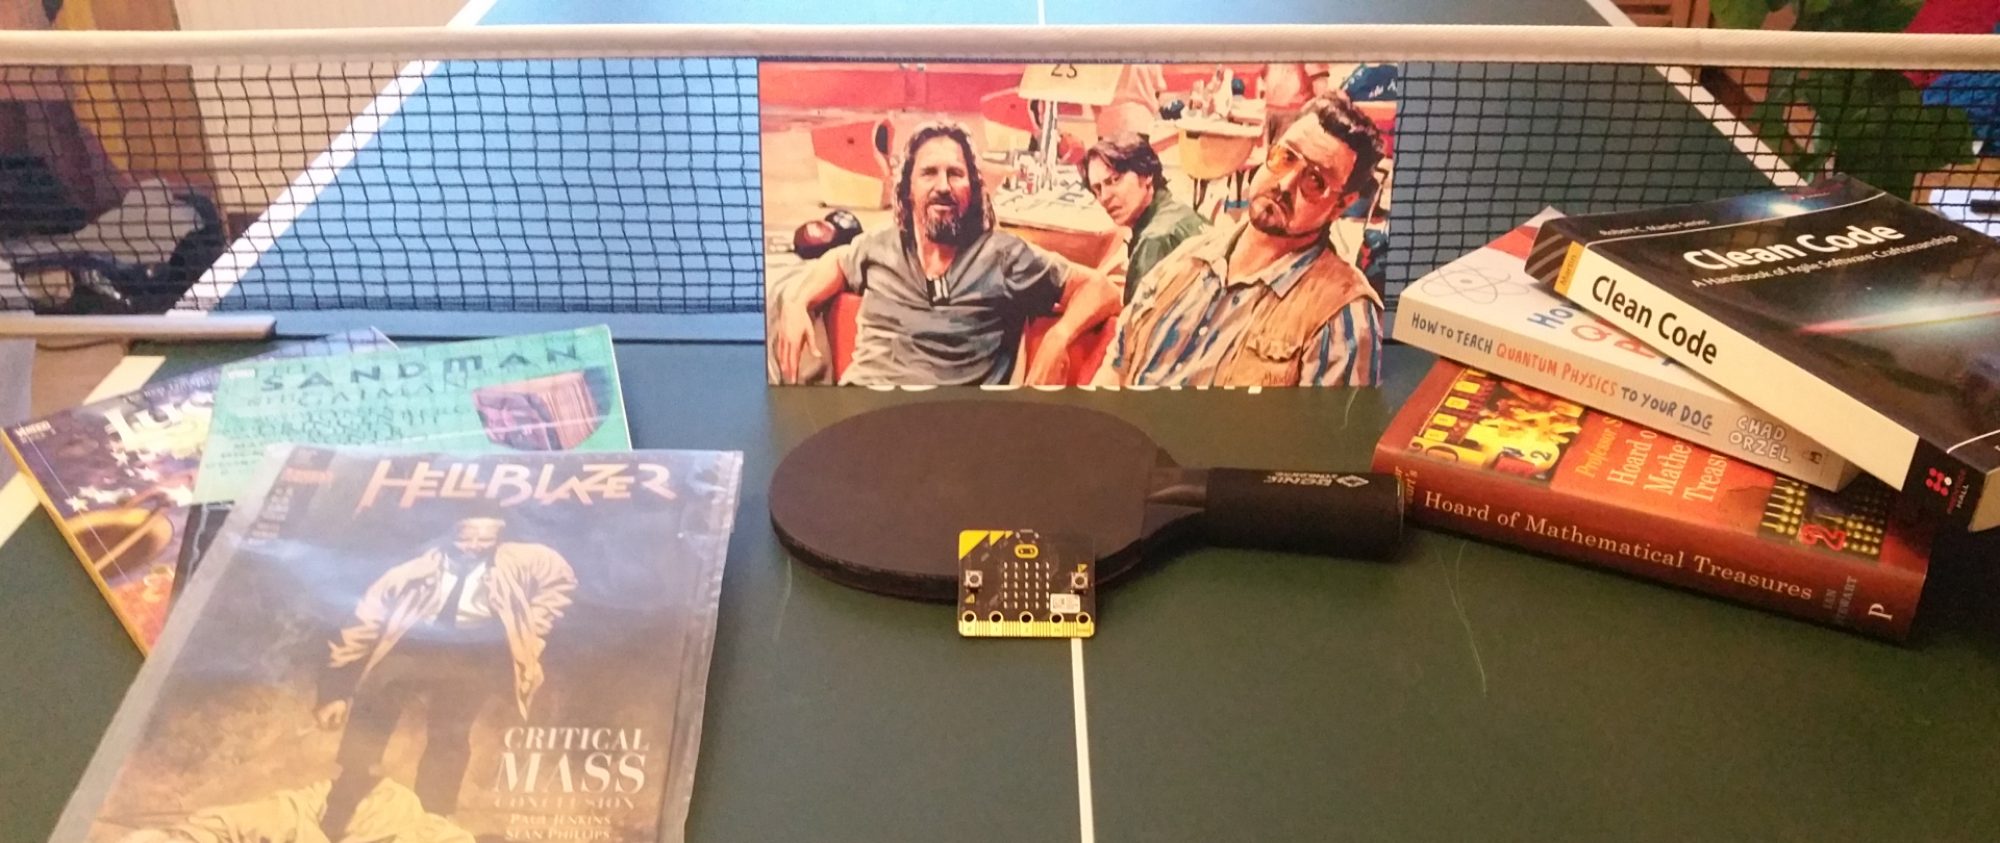
But ex:bit is more than just frippery – its a fantastic tool to (for example) design a new font – I used it to create integer chars for the micro:bit that I think are not half bad (you be the judge – the banner image on this page shows the 10 digits represented in ex:bit and below each how they look on the micro:bit).
You can also use it to create animations that run on a micro:bit. Create some images then stitch them together into an animation. You can the view the animation in the ex:bit preview, fling it onto your micro:bit, or you can generate the Python code to copy and paste into Mu or the online editor. Ex:bit supports 10 frame animations, but its easy to create larger ones to run in Python.
There are 2 main UI screens:
Create / edit image
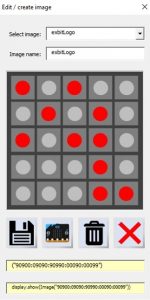
- The ‘pixels’ in the 5×5 matrix can by turned on / off by clicking on them
- Previously saved images can be loaded and edited, and new ones created and saved.
- The visible image can be ‘flung’ to a connected micro:bit (running the appropriate code) and displayed there.
- Python code for the image is shown in the 2 yellow filled boxes
Edit / Create animations:
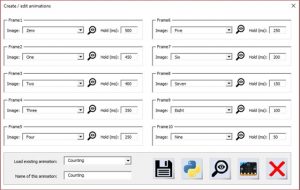
- Select images already created in ex:bit to include in an animation.
- Specify the delay in ms between frames
- Save your animation, or load and edit previously saved ones
- Preview your animation in ex:bit, or fling it to your connected micro:bit to preview there
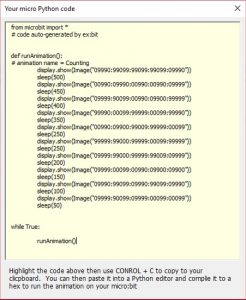
- Generate the Python code, which you can copy and paste into a Python editor to flash onto a micro:bit:
What next?
Ex:bit as a stand-alone app is complete, in that I don’t intend to add any functionality to it.
To adapt it for the matrix all I really need to do is add another layer, so that the user can specify which node(s) of the matrix to send an image / animation to. Its a bit of work, but the hardest part is working out a decent UI for it!
Next: The micro:bit matrix (5) – Tetris
The micro:bit matrix saga currently consists of 6 chapters: