There are 6 separate electronic items in the house:
- Lights
- TV
- Fireplace
- Fan
- Hifi
- Solar panel
We’ll look at each individually:
Lights:
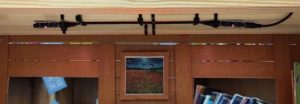
The lights are affixed to the bottom of the ceiling using some cable ties.
I used the excellent and easy to use Playground for BBC micro:bit kit from 4tronix for this. The lights are addressable coloured LEDs (known as ‘neopixels’, although this is of course an Adafruit TM product name).
User controls:
- On / off
- Cycle through pre-set colours
TV:
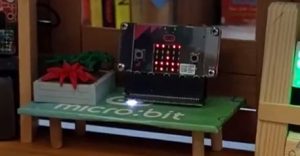
I got lucky with this – the bat:bit kit from Protopic is a slim-line battery case that looks a bit like an old style TV – enough to be convincing in context. I also added a micro:lit (now renamed the micro:pixel Edge) from Protopic. This is a ‘neopixel’ strip that connects to the edge connector and provides a bit more eye-candy.
The TV isn’t controlled by the user directly – it does the following:
- In idle mode the micro:bit screen cycles through all the preset images that are available in Python whilst the LED strip at the bottom shows a blue pixel going from left to right and back again.
- It also shows when a radio signal has been sent – the LEDs at the bottom flash red when a message is in the air and the radio message scrolls on the micro:bit screen. I originally did this cos I had an activity in mind – to challenge kids to hack the house! As it turned out the house did its job just being the house, so I never followed up on that idea.
Fireplace:
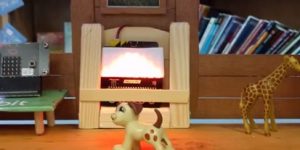
One of the inspirations for the house was the fireplace, or more accurately the ‘micro:pixel 4×8 WS2812B Board’, which the people at Proto-pic very kindle provided me with. I am quite chuffed to notice the ‘avoid the dot’ game I developed for it is still featured on the product page!
One of the other featured code items on that product page is ‘Micropython flame’. When I ran this I was very impressed by the flickering flame effect. I had already been toying with the idea of building a model house, and this struck me as the basis for a great fire-place.
In the field the lights were too bright, so I placed a piece of paper over the display to blunt this and diffuse the pixels a bit.
User controls:
- On / off
- The intensity of the fire – there are 3 settings as well as an air-con mode, which shows a cooling blue colour.
Fan:
The original fan was affixed to the shelf of drawers, but it looked cumbersome and false – nothing like what a real fan would look like:
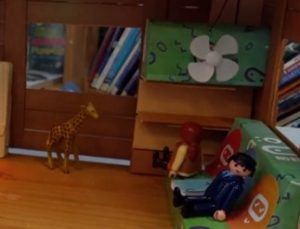
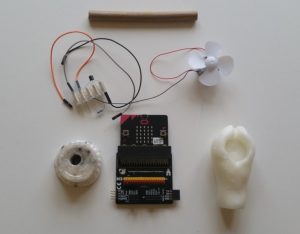
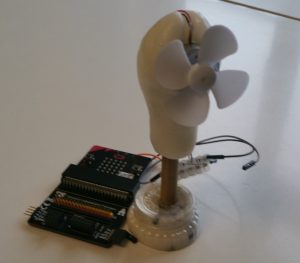
So I set out to design a typical free-standing fan. I used polymorph for the base and fan housing and a piece of old bamboo for the upright. The electronics were supplied by Sciencescope (who were a partner to the BBC on the original project) and used their GVS Breakout Board. Extra thanks to Alex from SS for providing a diagram to explain how to wire it – I still need to refer to that every time I set it up!
The image below shows the components:
When assembled it looks like this:
User controls:
- On / off
Hifi:
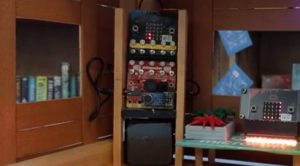
In my opinion Zbit:connect create some of the best micro:bit peripherals out there, and the bar is HIGH! I really love their home-build edge connector and the modular nature of their toolbelt.
Mr Bit was kind enough to rig up and provide me with a prototype of the zbit:speaker and zbit:mic attached to a zbit:toolbelt for the hifi. I bought a cheap speaker from Amazon for extra loudness and built the casing out of louvres and left-over wood from the ceiling.
The hifi also acts as a sound level detector and displays a graphic corresponding to the ambient loudness.
User controls:
- On / off
- Change mode: Play preset tunes, play preset noises, show sound level.
- Cycle through presets.
Solar panel:
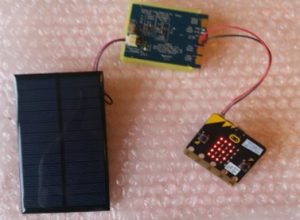
The solar panel from seenovinc is one of the most under-rated micro:bit peripherals out there, and the first that I helped to bring to market. It feeds a rechargeable Lithium battery which plugs directly into the battery input on the micro:bit. It also has pins to output the battery voltage and solar current, which can be read on a micro:bit in real time.
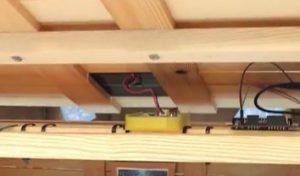
The solar panel fits snugly into the roof and the battery, stashed in the ceiling, is used it to power the fan. The pic below is of the bottom of the roof, with the solar panel and litho battery showing:
Blinds:
An honourable mention also needs to go to the blinds, which were built but never used in a show (I retired the house before I got the chance). Thanks to Binary Bots for knocking it up. Here’s my partner in crime @Heeedt tweaking it for me:
The hand of @heeedt who rigged up the @cbiseducation automated blind for my #microbit model house. Thanks Michael 🙂 pic.twitter.com/LJAvOYNbZ5
— Philip Meitiner (@pragmaticPhil) May 27, 2017
Next: The micro:bit house (8) – controllers
The micro:bit house blog has 10 separate chapters:
- The micro:bit house
- The micro:bit house (2) – design
- The micro:bit house (3) – structure
- The micro:bit house (4) – construction
- The micro:bit house (5) – interior
- The micro:bit house (6) – furniture
- The micro:bit house (7) – electronics
- The micro:bit house (8) – controllers
- The micro:bit house (9) – code
- The micro:bit house (10) – wrap-up
